Gameplay Containers
info
This guide is applicable for Gameplay Containers Plugin version 1.4 or higher.
Step-by-Step Setup
1. Download the Demo Project
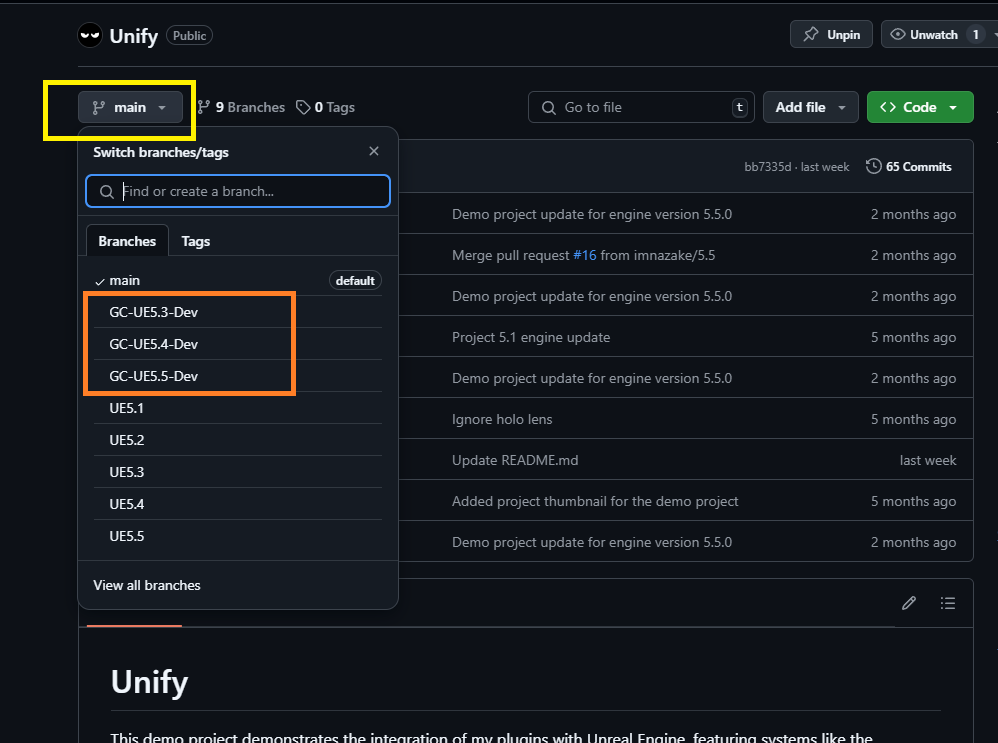
- Download the demo project for Gameplay Containers from the GitHub repository.
- Choose one of the branches shown in the image below, based on the Unreal Engine version you are using.
2. Download the Plugin
- Obtain the plugin from the Epic Games Launcher or Fab.
3. Copy the Plugin to the Unify Demo Project
- Navigate to the Unreal Engine directory where the plugin was installed.
- Copy the plugin to the Plugins folder in the Unify demo project.
4. Regenerate Visual Studio Solution Files
- Regenerate the project solution files to ensure the plugin is integrated correctly.
5. Open the Project in Unreal Engine
- Open the Unify demo project in Unreal Engine to proceed with further setup.
6. Create an Ability Set Data Asset
- Navigate to the Content Browser.
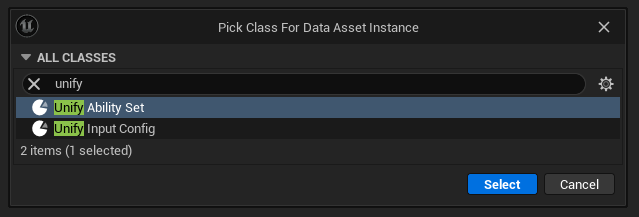
- Right-click and select Miscellaneous > Data Asset.
- In the dialog box, select the appropriate class for the ability set (e.g.,
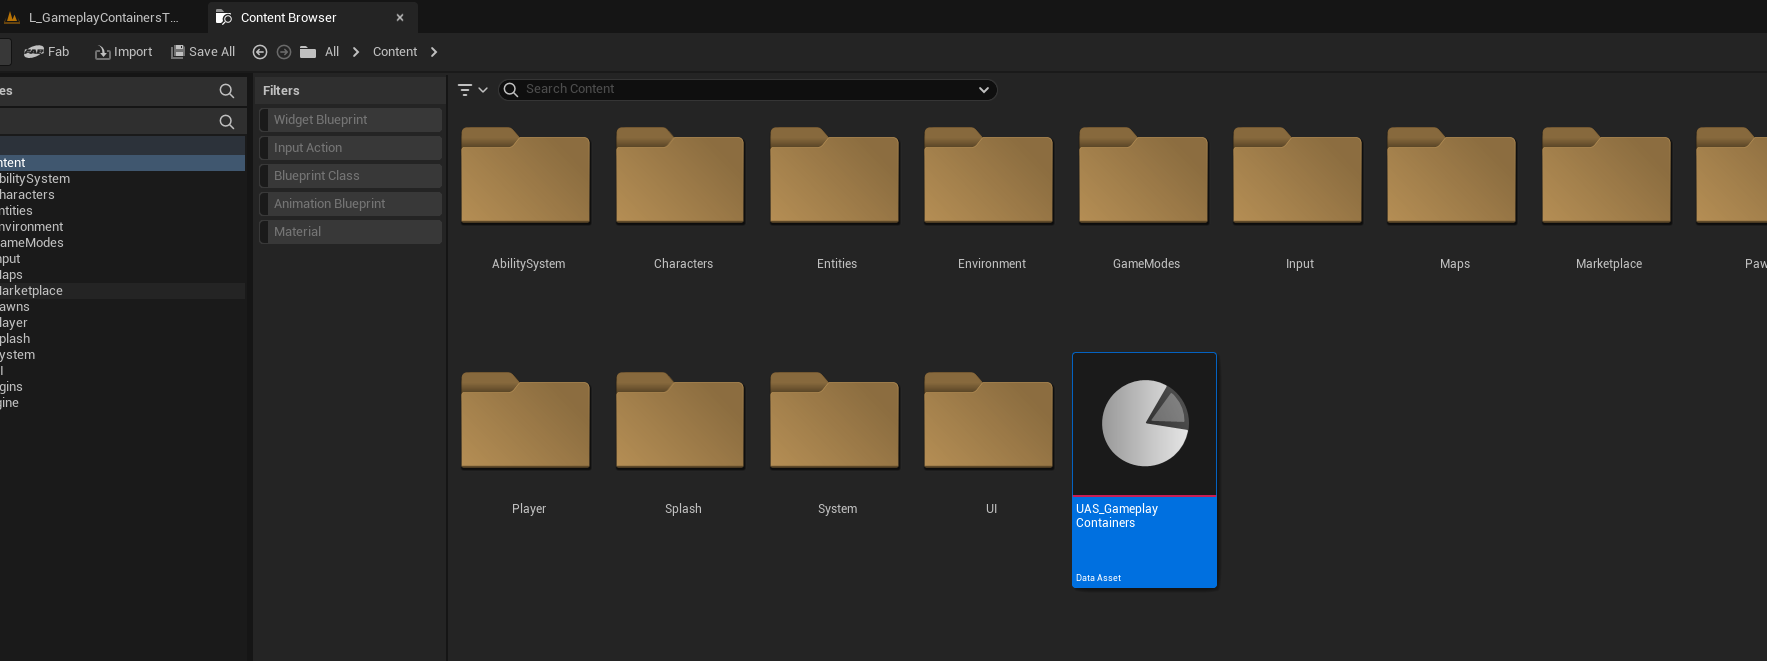
UnifyAbilitySet). - Name it
UAS_GameplayContainersor any name of your choice. - Refer to the image below for guidance.
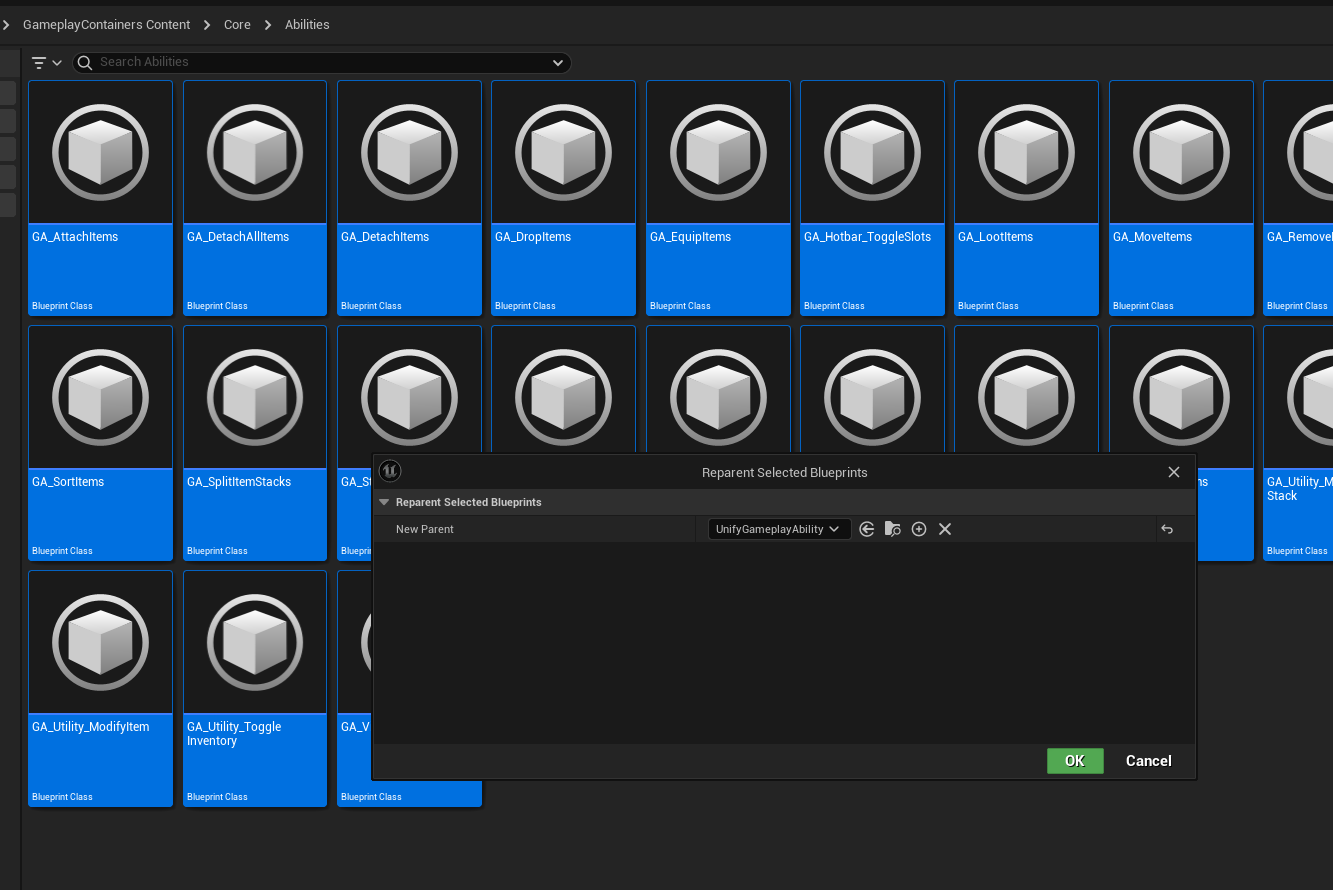
7. Reparent the Abilities Blueprints
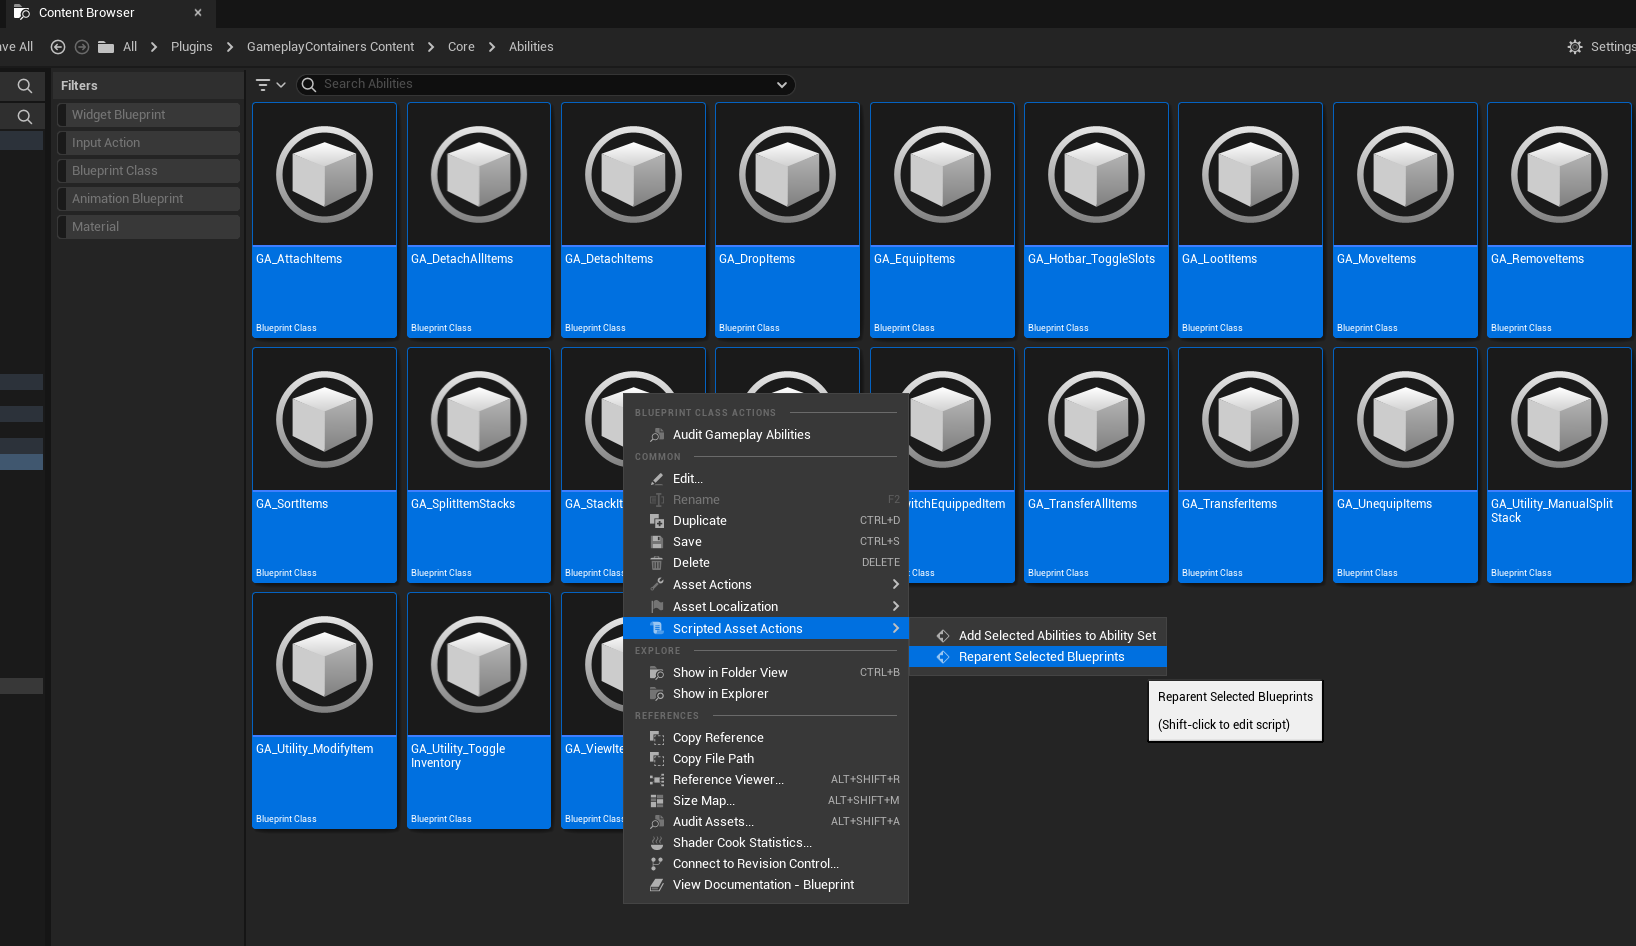
- Go to Plugins > GameplayContainers > Core > Abilities.
- Select all the ability blueprints.
- Right-click and navigate to Script Asset Actions > Reparent Selected Blueprints.
- Choose
UnifyGameplayAbilityas the parent class and press OK. - Save all changes.
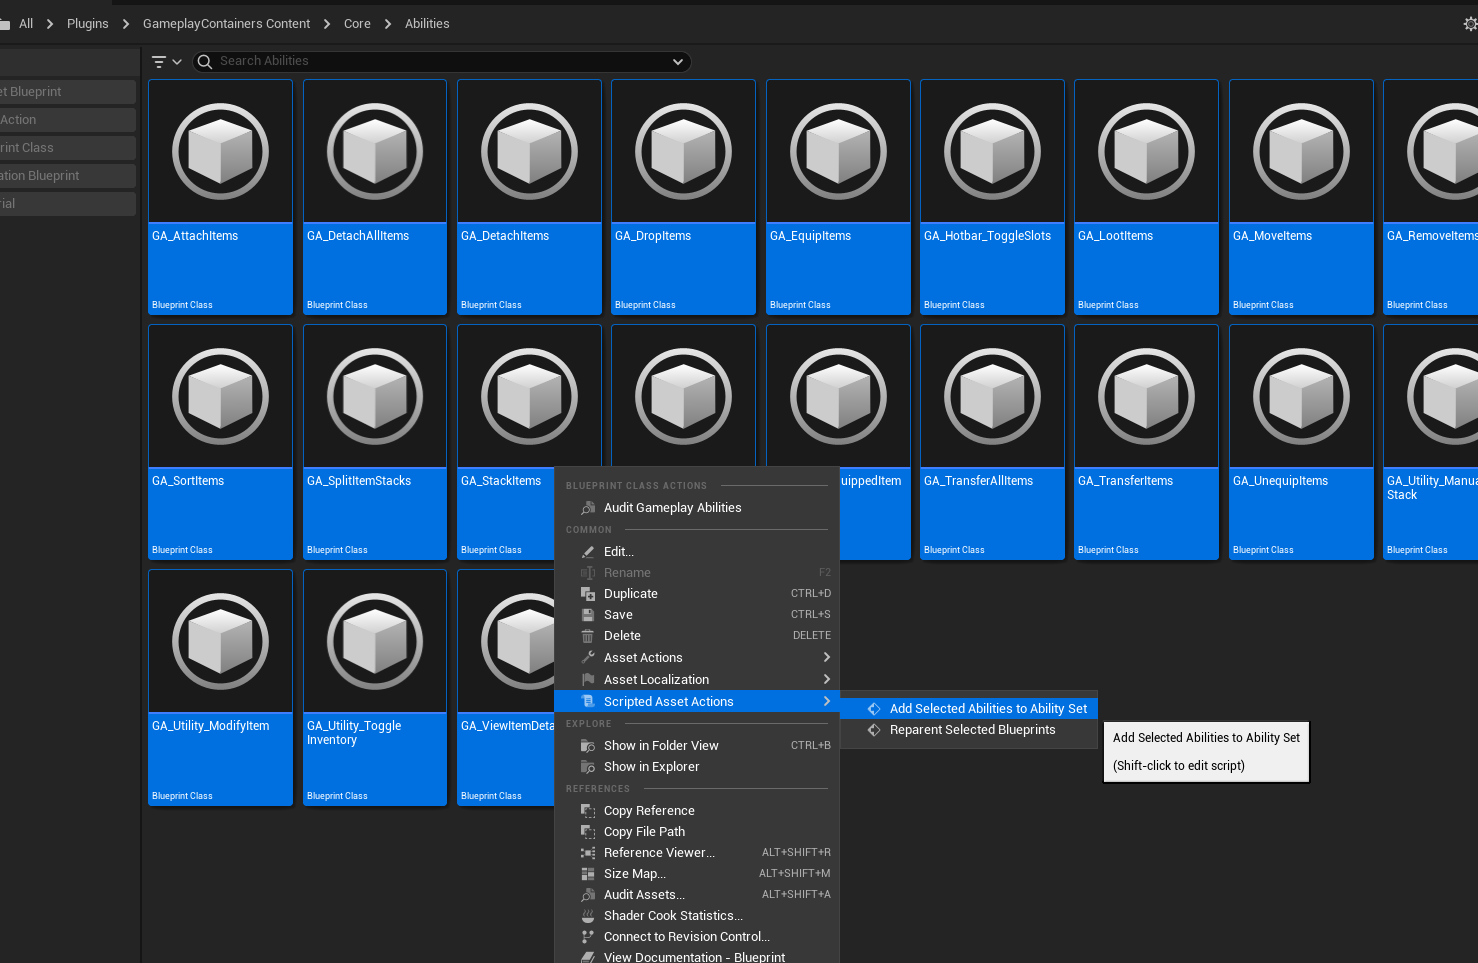
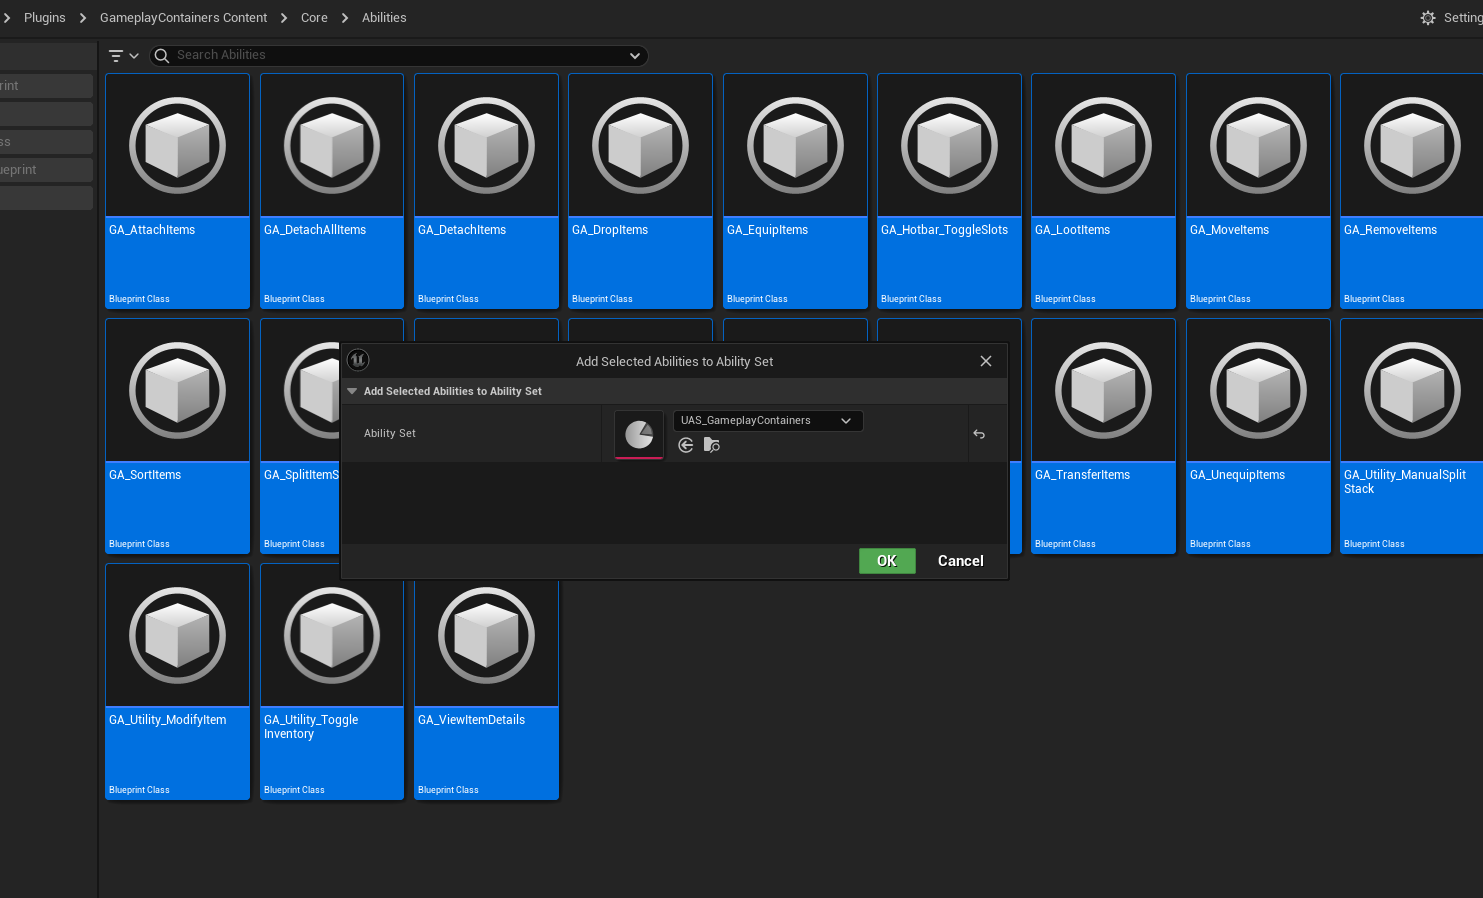
8. Add Abilities to the Ability Set
- Select all abilities again.
- Right-click and navigate to Script Asset Actions > Add Selected Abilities to Ability Set.
- Choose the ability set you created earlier (
UAS_GameplayContainersor your custom name). - Press OK and save all changes.
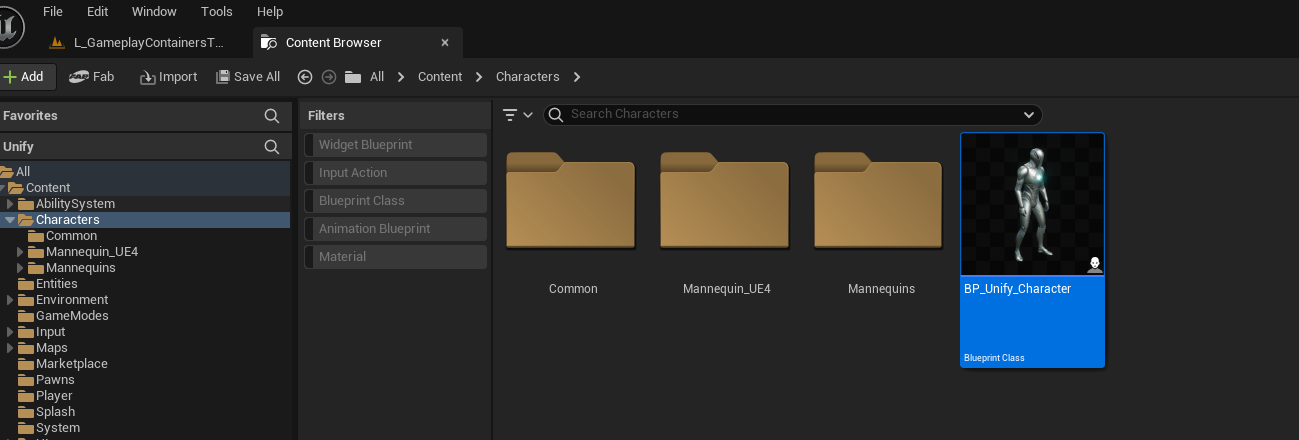
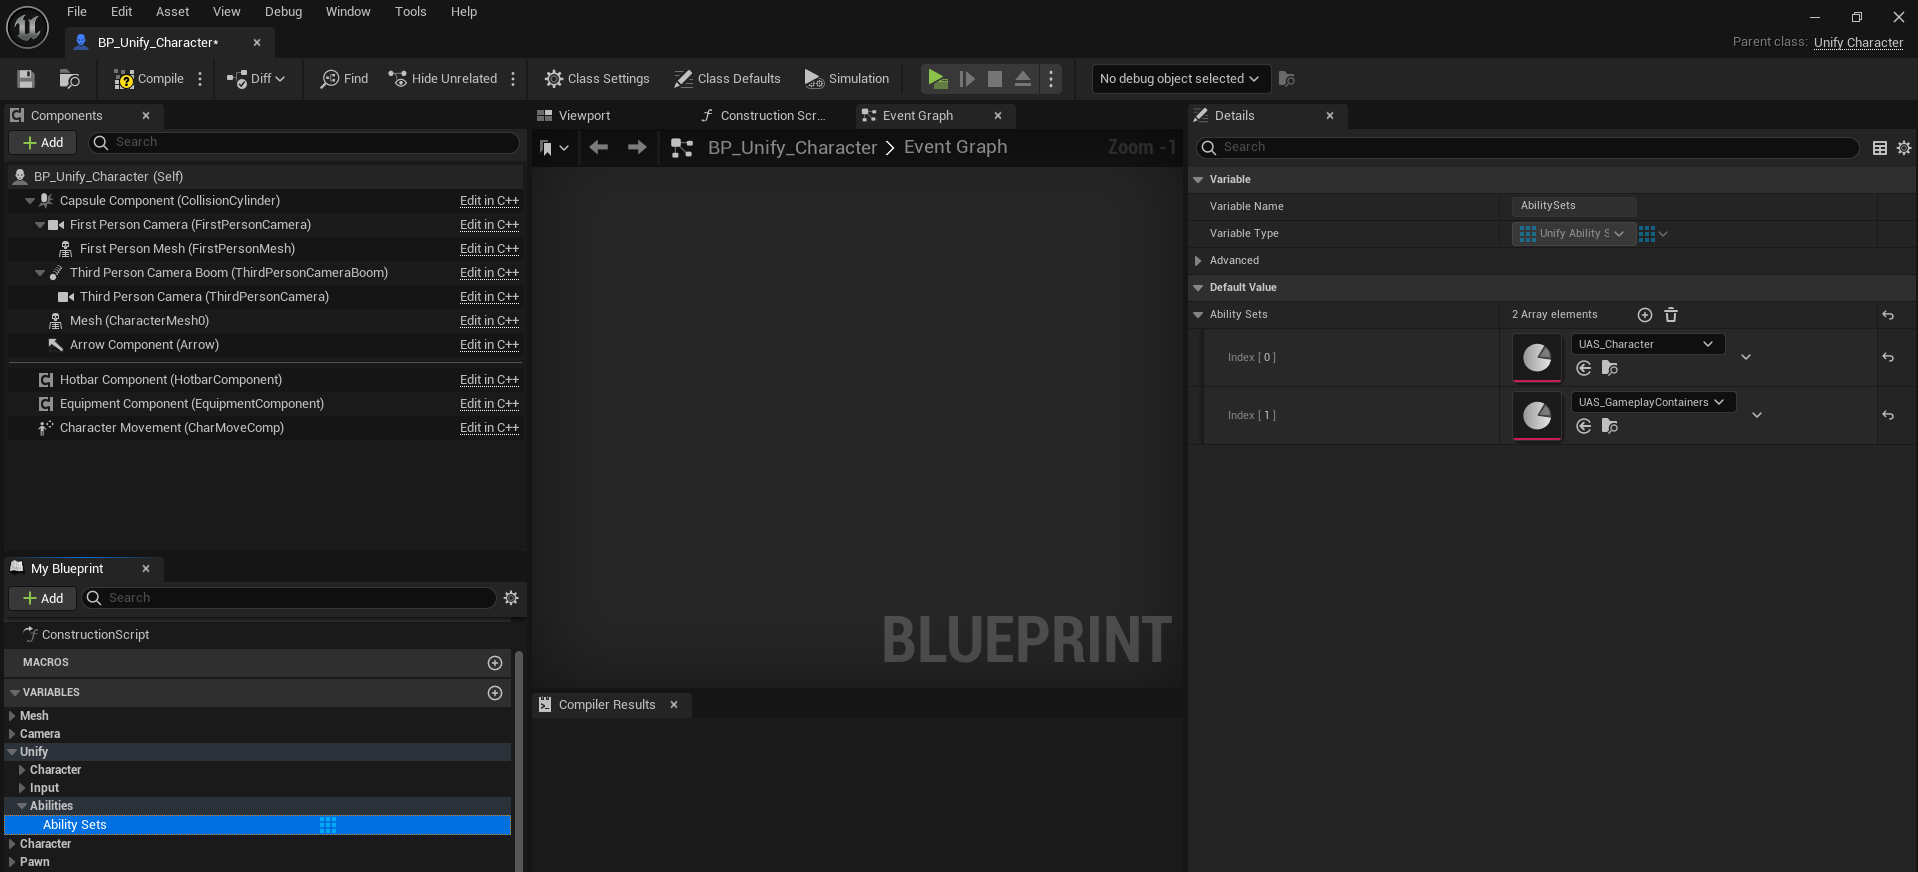
9. Add the Ability Set and Input Mapping Context
- Add the Ability Set to the Character Blueprint:
- Open the Character Blueprint class.
- Find the AbilitySets array.
- Add the
UAS_GameplayContainers(or your custom ability set) to the array. - Save the blueprint.
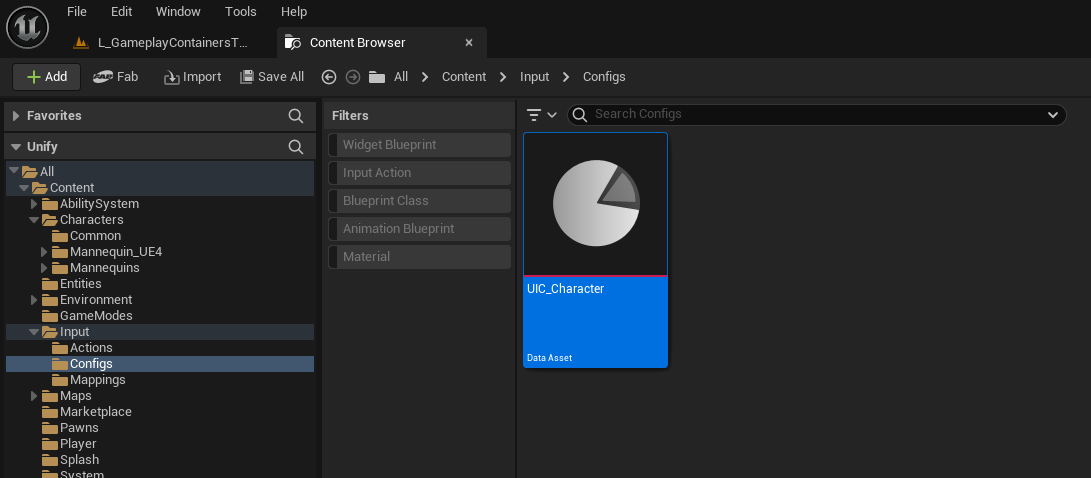
- Add the Input Mapping Context:
- Open your Character Input Config data asset.
- Add the input mapping context for the Gameplay Containers plugin to the asset.
- Save the changes.

10. Test the Plugin
- Press the Play button to test the functionality of the plugin in the project.
You’re all set! If you encounter any issues, refer to the plugin documentation or contact support.