Creating New Slots
This guide walks you through the process of creating and configuring new container slots in your game using the Gameplay Containers Plugin. Slots are essential for organizing and managing items within a container.
1. Create a Container Slot Definition
Start by creating a new container slot definition by creating a data asset that inherits from GameplayContainerSlotDefinition. For this example, let's name it GCSD_MyNewSlot.
Steps:
- Right-click in the Content Browser and choose Miscellaneous > Data Asset > GameplayContainerSlotDefinition.
- Name the asset (e.g.,
GCSD_MyNewSlot). - Save the asset.
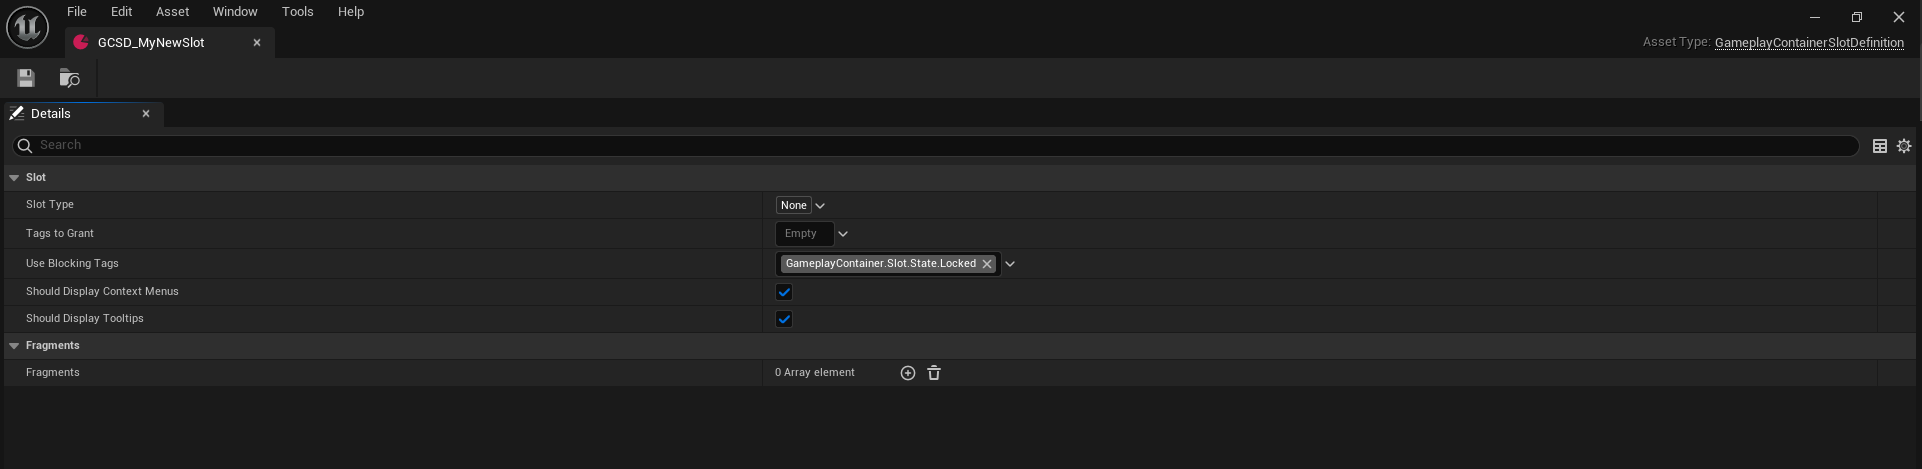
2. Configure the Slot Definition
Next, configure the slot definition by giving it a type tag. This is required for slot-based containers, as the type tag helps define how the slot behaves in the context of a container.
Steps:
-
In the GameplayContainer.Slot.Type parent tag, create a new sub-tag. For this example, call it
MyNewType(as shown in the picture below).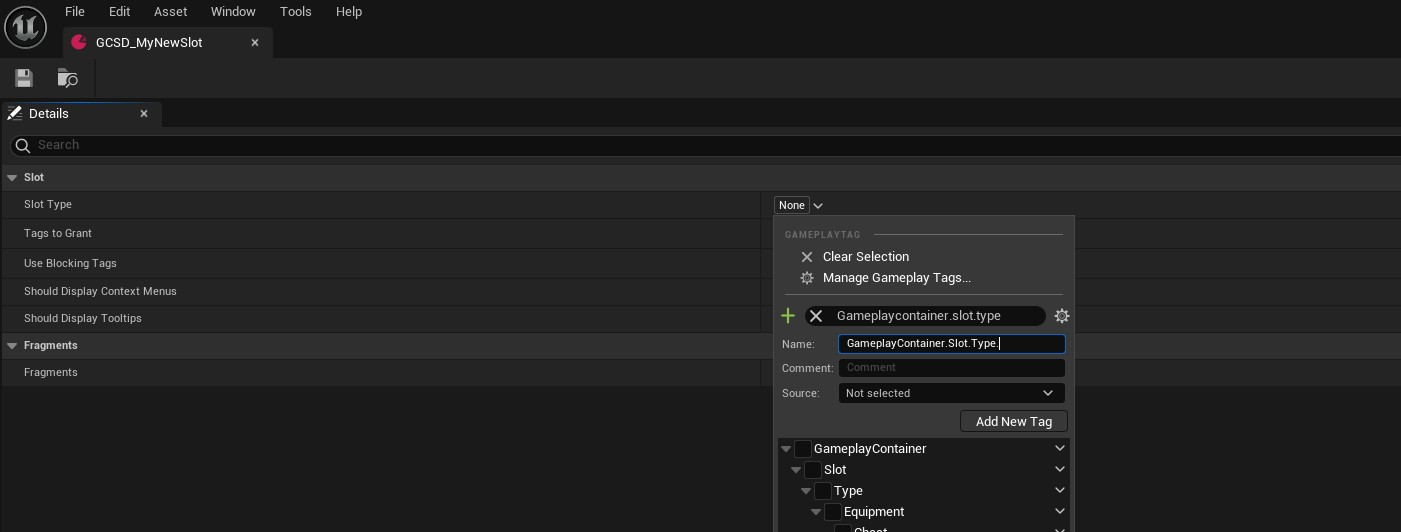
-
Select the newly created slot type to be used for this definition.
3. Configure Slot Display Options
Configure the slot if you want it to display context menus or tooltips when interacting with it.
Steps:
- In the slot section, check the checkboxes to enable or disable the following:
- Context Menu: Allow right-click interactions on the slot.
- Tooltips: Enable tooltips to display additional information about the slot.
- Save the asset.
4. Configure Fragments for the Slot
Gameplay Container Slots can have various fragments to define extra functionality, such as filtering items or binding attributes.
Available Fragments:
| Fragment Type | Description |
|---|---|
| Attribute Fragment | Binds an attribute (e.g., inventory capacity) from an attribute set to a specific slot type. |
| Filter Fragment | Filters items that can be placed in the slot based on item tags or other criteria. |
| UI Fragment | Defines the UI elements that display the slot on screen. |
5. Configure the UI Fragment
In the UI Fragment, configure the widgets used for displaying the slot in the user interface. You can either use the default widgets or create a custom widget by inheriting from GameplayContainerSlotWidget.
Steps:
- Add the UI Fragment to the slot.
- Select or create the widget to display the slot. To customize the look of the slot:
- Create a new Widget Blueprint that inherits from
GameplayContainerSlotWidget. - Customize the appearance and behavior of the slot widget.
- You will have access to all slot data, making it easy to design how you want to display the slot.
- Create a new Widget Blueprint that inherits from
- Alternatively, you can use the default widgets or modify them if you prefer.
- Save the asset.
6. Configure Usage Blocking Tags
Usage Blocking Tags are special tags that prevent the use of the slot if they are present in the container’s owned tags. This is useful if you want to "lock" a slot and prevent any actions from happening until the slot is "unlocked" by removing the blocking tag.
7. Play Sounds for Slot Events
If you want to play sounds when certain events happen in the slot (e.g., when the slot is hovered over, or when a drag starts), you need to manually trigger the sounds.
Steps:
- In the appropriate event (e.g., in slot widget blueprint
OnSlotHovered,OnSlotDragStarted), you can manually call thePlaySoundfunction to trigger a sound cue.
For example in C++ it looks like this:
    void UGameplayContainerSlotWidget::NativeOnDragEnter(const FGeometry& InGeometry, const FDragDropEvent& InDragDropEvent, UDragDropOperation* InOperation)
    {
        BP_OnSlotDragHovered();

        if (DataObject && DataObject->GetSlotDefinition())
        {
            if (const UGameplayContainerSlotFragment_UI* UserInterfaceFragment = DataObject->GetSlotDefinition()->GetFragmentByClass<UGameplayContainerSlotFragment_UI>())
            {
                PlaySound(UserInterfaceFragment->DragHoveredSound);
                BP_OnSlotBrushChanged(UserInterfaceFragment->DragHoveredBrush);
            }
        }

        Super::NativeOnDragEnter(InGeometry, InDragDropEvent, InOperation);
    }