Creating New Items
This guide will walk you through the steps of creating new items for your game using the Gameplay Containers. You'll learn how to define item properties, configure functionality, and enhance items with fragments. Images are included to visually guide you through the process.
1. Create a Data Asset
To begin, create a new Data Asset that inherits from GameplayItemDefinition. This data asset will serve as the core definition of your item.
Steps:
- In the Content Browser, right-click and select Miscellaneous > Data Asset > GameplayItemDefinition.
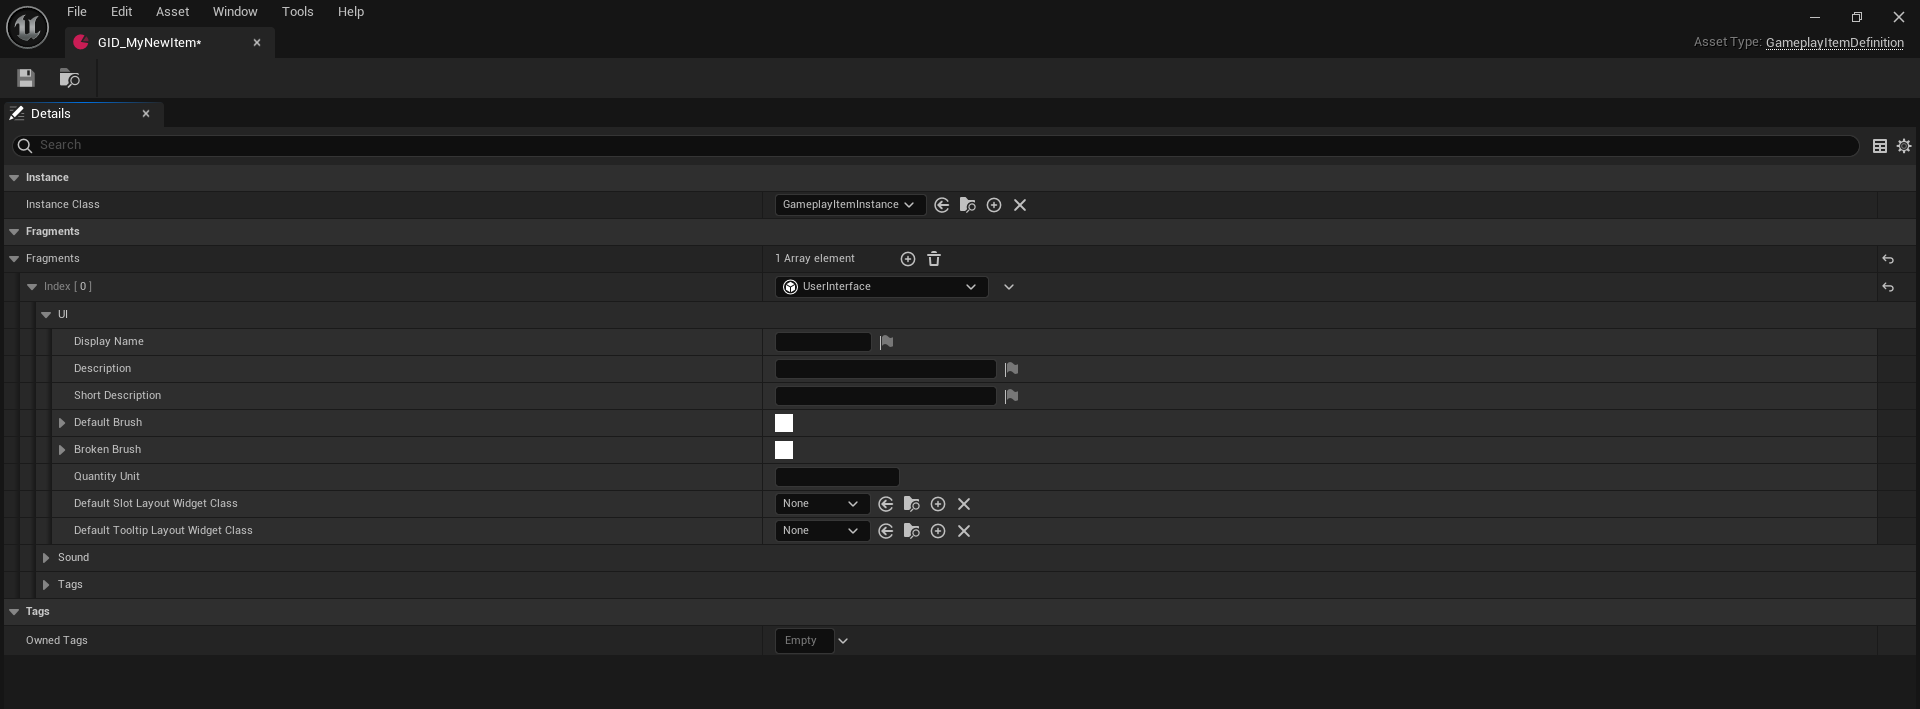
- Name your asset appropriately, such as
GID_MyNewItem. - Open the asset, give it a user interface fragment and configure the following properties:
- Name: Set the name of the item.
- Description: Provide a description of the item.
- Icon: Assign an image for UI representation.
- Save the asset.
2. Configure Item Properties
Define additional functionality or behaviors for your item by using fragments. Fragments are modular components that extend the capabilities of the item.
Available Fragments:
Below is a list of all fragments currently available in the plugin. More fragments will be added in the future to expand functionality and customization options.
| Fragment | Description |
|---|---|
| Actions | Define actions the item can perform, such as using, removing, or dropping. |
| Attachments | Enable attachment systems, such as weapon attachments. |
| Equipment | Configure the item as equippable gear, like armor or weapons. |
| Grid | Use for grid-based inventory systems, defining how the item fits into grids. |
| RandomLootGeneration | Set rules for generating the item as part of random loot drops. |
| Rarity | Assign rarity levels to the item, such as Common, Rare, or Legendary. |
| Stack | Enable stacking functionality and set stack limits. |
| Stats | Define custom stats for the item, like durability or damage values. |
| UI | Configure UI-specific settings, such as item icons or tooltips. |
| Weight | Assign a weight to the item for inventory management systems. |
| World | Configure how the item behaves when dropped into the game world. |
3. Choose the Item Instance Class
Select the item instance class that your item will use when instantiated. This determines how the item behaves dynamically in the game.
Key Concepts:
- Item Definition: Exists independently and is used for identification (e.g., in the game database or as a reference).
- Item Instance: Created when the item "exists" in the world (e.g., in a player's inventory or as a dropped object).
Steps:
- In your item definition asset, locate the Instance Class field.
- Choose an appropriate class that inherits from
GameplayItemInstance. - Save the asset.
5. Testing Your New Item
Once your item is defined, test it in the game:
- Add the item to a player's inventory or spawn it in the world.
- Interact with the item to ensure all fragments and behaviors are functioning correctly.
- Debug any issues by revisiting the item's definition or fragments.
By following these steps, you can create fully functional and customizable items for your game.